
When to Harvest Cannabis: Timing, Technique & Quality
- thecannaclubplett
- Apr 8
- 3 min read

Harvest time is the moment every grower waits for. After weeks (or months) of careful cultivation, your plant finally reaches peak maturity—and how you handle this stage will directly affect potency, flavour, and overall quality. At The CannaClub, we believe harvesting is both a science and an art.
Let’s break it down.
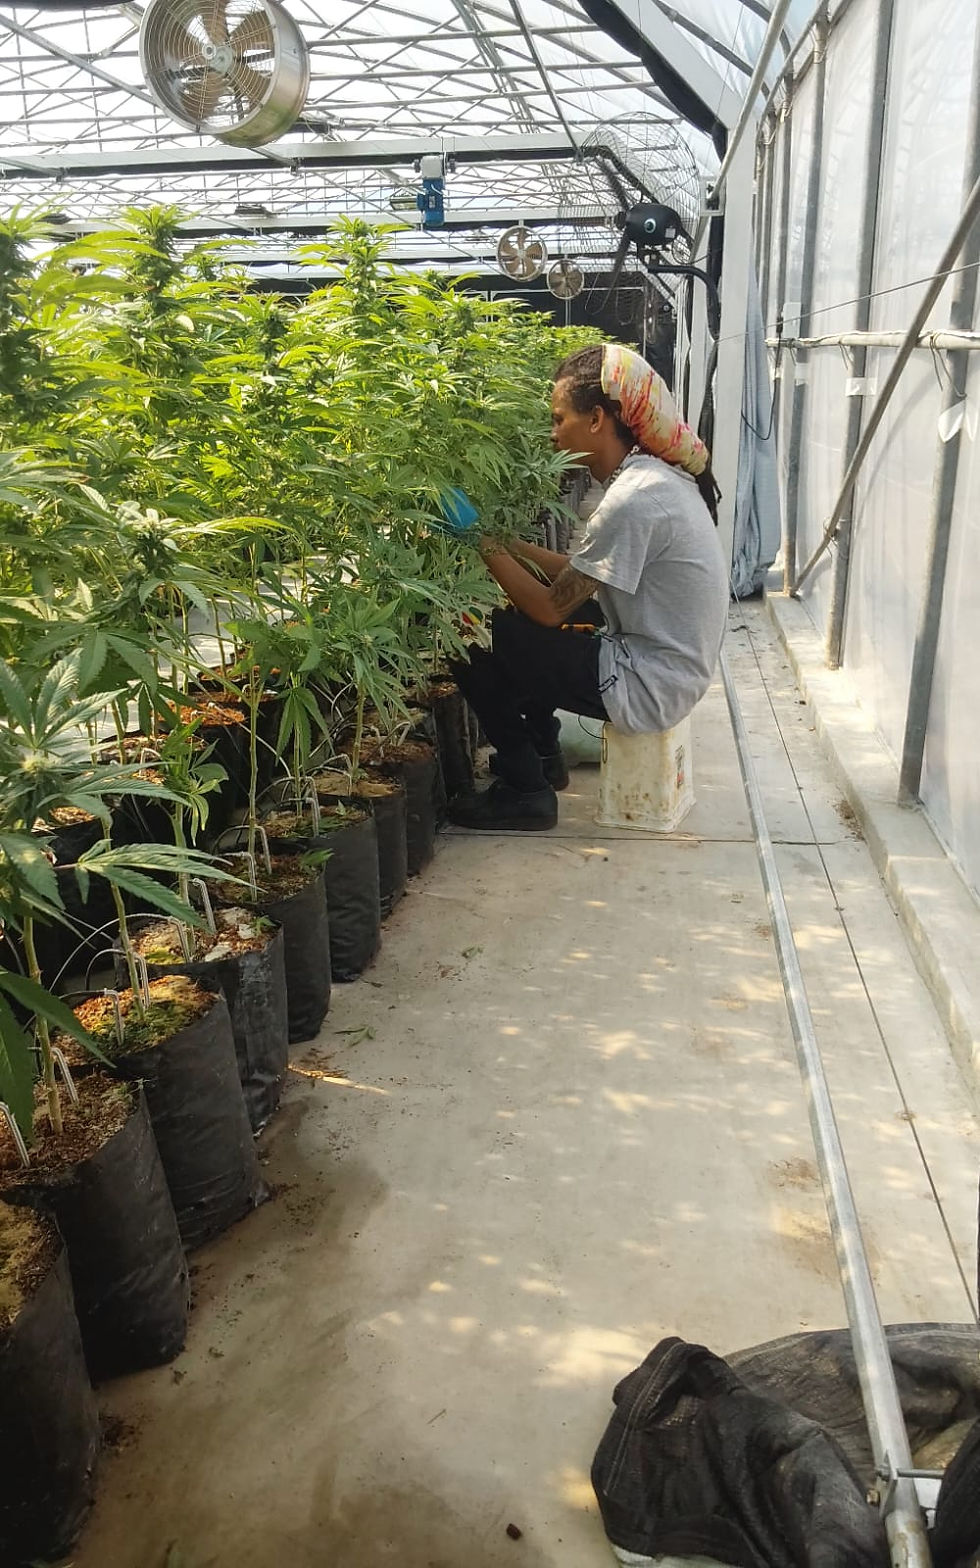
When Is Cannabis Ready to Harvest?
The most common mistake growers make?👉 Harvesting too early.
Rushing this step can dramatically reduce potency, flavour, and overall experience.
Here are the 3 key signs your cannabis is ready:
1. Check the Trichomes (Most Important)

Trichomes are the tiny crystal-like glands covering your buds—they contain all the good stuff: THC, CBD, and terpenes.
Use a magnifying glass or loupe and look closely:
Clear trichomes → Too early (low potency)
Milky/Cloudy → Peak THC (uplifting, energetic high)
Amber → More CBN (relaxing, sedative effect)
✅ Perfect harvest window: Mostly cloudy with a touch of amber.
2. Watch the Pistils (Hairs)

White pistils = still growing
Orange/brown pistils = maturing
👉 When 70–90% have darkened, you’re in the harvest zone.
3. Look for Plant Fade
As harvest approaches, leaves may yellow.
This is normal—it means the plant is redirecting energy into bud production.
How to Prepare for Harvest (Don’t Skip This)
Preparation makes the difference between a smooth harvest and a chaotic one.
Must-have tools:
Sharp trimming scissors
Gloves (trust us, resin gets sticky)
Clean drying space
Hangers or drying racks
Pro tools:
Magnifying loupe
Hygrometer (for humidity control)
Harvesting Method
There are many ways to harvest—but if you want consistent, top-shelf results, method matters.

Step-by-Step: The CannaClub Harvest Process
1. Cut the Whole Plant
Once your plant hits peak maturity, cut it at the base.
2. Break It Down into Branches
Instead of hanging the whole plant:
Cut into individual branches
Remove large fan leaves
Do a rough trim to remove excess foliage
3. Hang in a Controlled Drying Room
Branches are hung on hangers in a controlled environment with:
Humidity & Temperature Gauge
Air conditioning (stable temperature)
Dehumidifier (perfect humidity)
Fan (gentle airflow only)
Why this works:
Even, consistent drying
Lower risk of mold
Maximum terpene preservation
Scalable for larger harvests
Wet Trim vs Dry Trim (What’s Better?)
This is one of the biggest debates in cannabis cultivation.
Wet Trimming (Immediately after harvest)
✔ Faster and easier✔ Speeds up drying❌ Can reduce terpene content
Dry Trimming (After drying)
✔ Better flavour and aroma✔ Smoother smoke❌ Takes more time and effort
👉 At The CannaClub, we choose dry trimming for premium quality flower.
Drying Cannabis Properly (Critical Step)
You can grow amazing cannabis—but a bad dry will ruin it.
Ideal drying conditions:
Temperature: 18–22°C
Humidity: 50–60%
Darkness (light destroys cannabinoids)
Gentle airflow (never directly on buds)
⏳ Drying time: 7–14 days
👉 Quick test: Small stems should snap, not bend.
Curing Cannabis for Maximum Quality
Drying is only half the process—curing is where the magic happens.
How to cure your buds:
Place dried buds in glass jars
Fill jars about 70% full
Store in a cool, dark place
Open jars daily (burping) for 1–2 weeks
⏳ Minimum cure time: 2–4 weeks💨 Longer cure = smoother, tastier smoke
Why Harvesting Technique Matters
Every decision you make at harvest impacts:
Potency
Flavour
Aroma
Smoothness
Shelf life
Final Tip from The CannaClub
“Don’t harvest when you’re impatient—harvest when the plant is ready.”


Comments